The Faceless Video Editing Workflow: 5 Steps I Use On English-Language Channels
There is one belief that keeps more people stuck than any algorithm change ever has: the idea that you need to be a fluent English speaker before you can build a channel for a US, UK, German or Japanese audience.
I have been making YouTube videos since 2017, and almost all of that work has been for viewers who do not speak my first language. What I can tell you after nine years is that language is not the bottleneck. The bottleneck is the edit. A creator who can hold attention with pictures will beat a fluent speaker who cuts sloppy video every single time.
Below is the exact faceless video editing workflow I use, in the order I use it. Nothing here requires you to write English prose from scratch, and nothing here requires you to appear on camera.
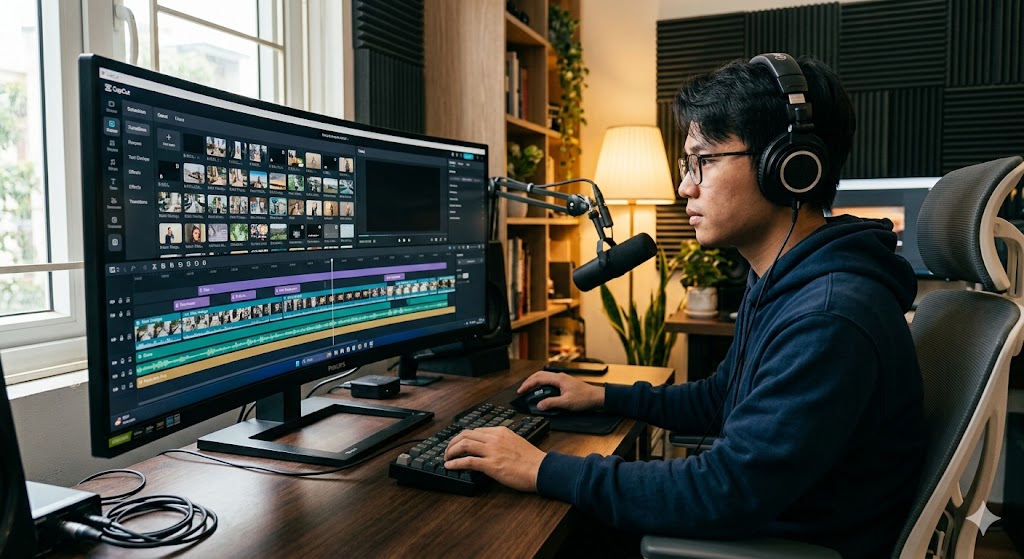
Why editing matters more than language on a faceless channel
Viewers do not grade your grammar. They grade three things, usually within the first ten seconds:
- Is this interesting enough to keep watching?
- Do the pictures actually match what the narrator is saying?
- Does anything happen, or is it four minutes of the same drone shot?
That is the whole test. Language is the wrapper; pacing and picture selection are the product. This is why non-native creators run channels with hundreds of thousands of monthly views in English-speaking markets, and why plenty of fluent speakers post into silence.
Step 1: Turn the script into a voice track
Once the script is finished, it needs to become audio before anything else happens. AI narration tools such as ElevenLabs have made this the shortest step in the process:
- Get the script into your target language and read it once for sense, not just for grammar.
- Paste it into the narration tool.
- Choose a voice and set the pace.
- Export the audio file and save it with the project.
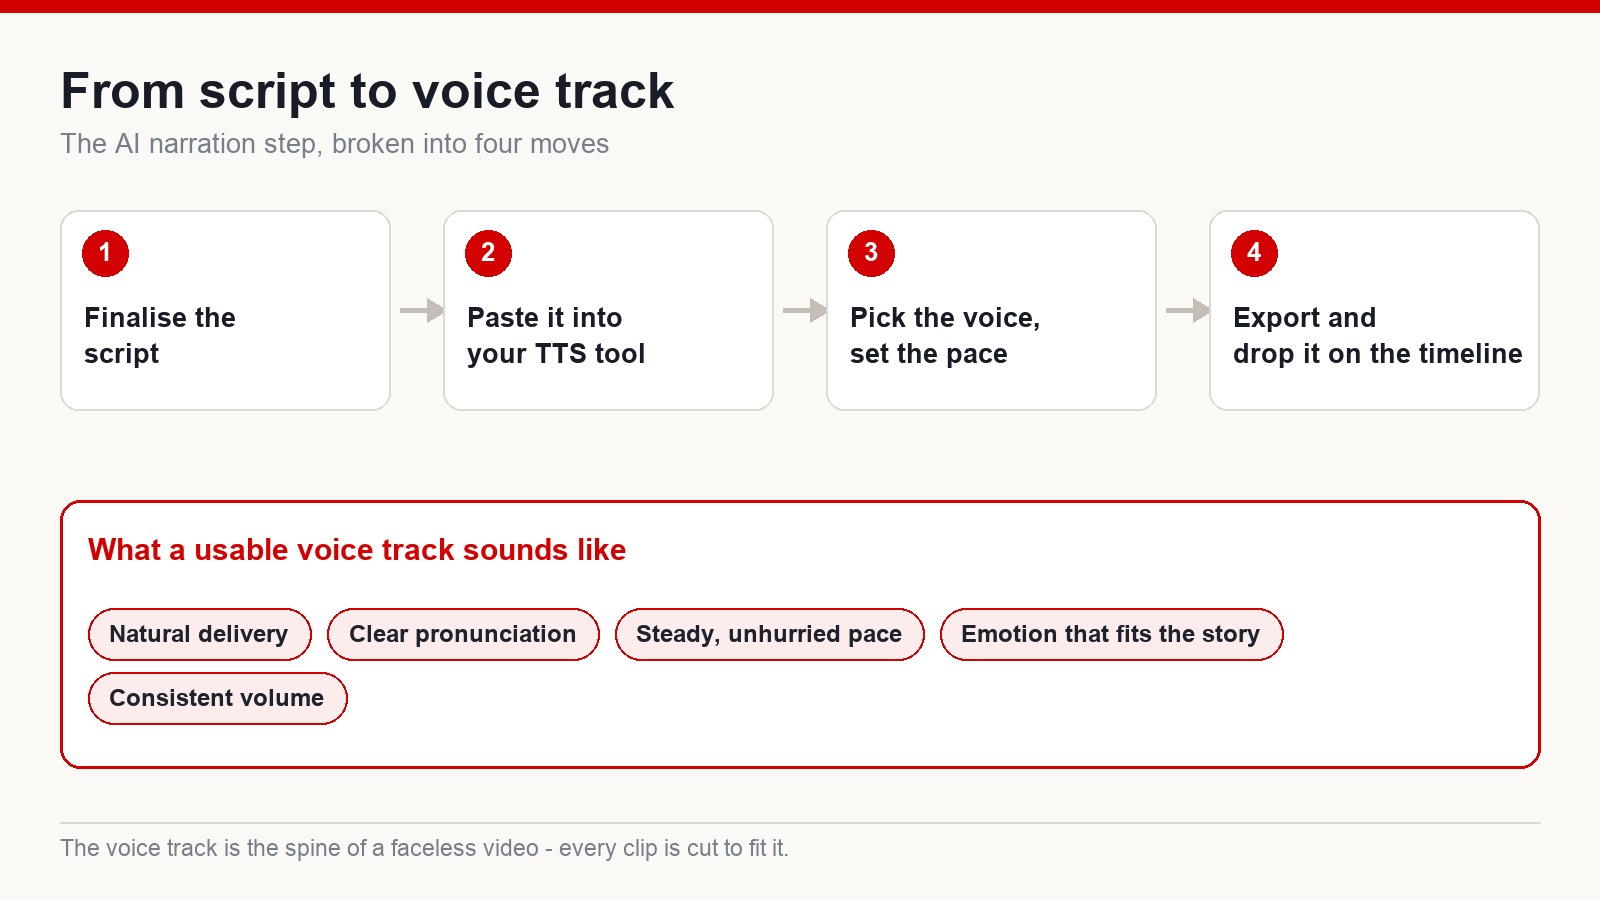
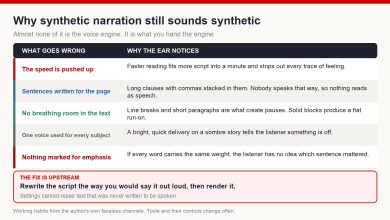
Do not rush the voice selection. The narration is the spine of the whole video, and every cut you make later is timed to it. What I look for: natural delivery, clean pronunciation, a pace that is slightly slower than feels right, and enough emotional range that the voice does not flatten out over ten minutes. If you have to choose between a dramatic voice and a clear one, take the clear one.
Step 2: Load everything in and fix the audio balance first
Bring the full kit into your editor — CapCut, Premiere, DaVinci, whichever you already know:
- The narration track
- Background music
- Stock and original footage
- Stills and graphics
- Sound effects
Before you cut a single clip, sort out your levels. The rule is simple: when the narrator speaks, the music steps back; when the narration pauses, the music comes forward again. Volume keyframes make this take about ten minutes for a whole video, and it is the difference between a channel that sounds amateur and one that sounds produced. Viewers rarely leave a comment saying “your music was too loud” — they just leave.
Step 3: Use captions as a shot map
This is the part of the workflow that surprises people, and it is the reason a non-native speaker can edit an English video faster than someone who is translating in their head.
Auto-caption the narration
Run the automatic captions feature on your voice track. Let the software detect the language and generate a caption line for every sentence. You are not making these captions for the audience — they are a working document.
Turn on the translation
Now switch on the translation feature so each caption also appears in a language you read effortlessly. You end up with two lines running down the timeline: what the narrator says, and what it means.
Match footage line by line
From here, editing becomes a matching exercise. Read the line, find the clip that shows it, drop it in. If the narration says “a single bird glides over the autumn forest”, you go looking for a slow aerial shot of red canopy with a bird in frame. You never have to parse the sentence word by word — you only have to picture it.
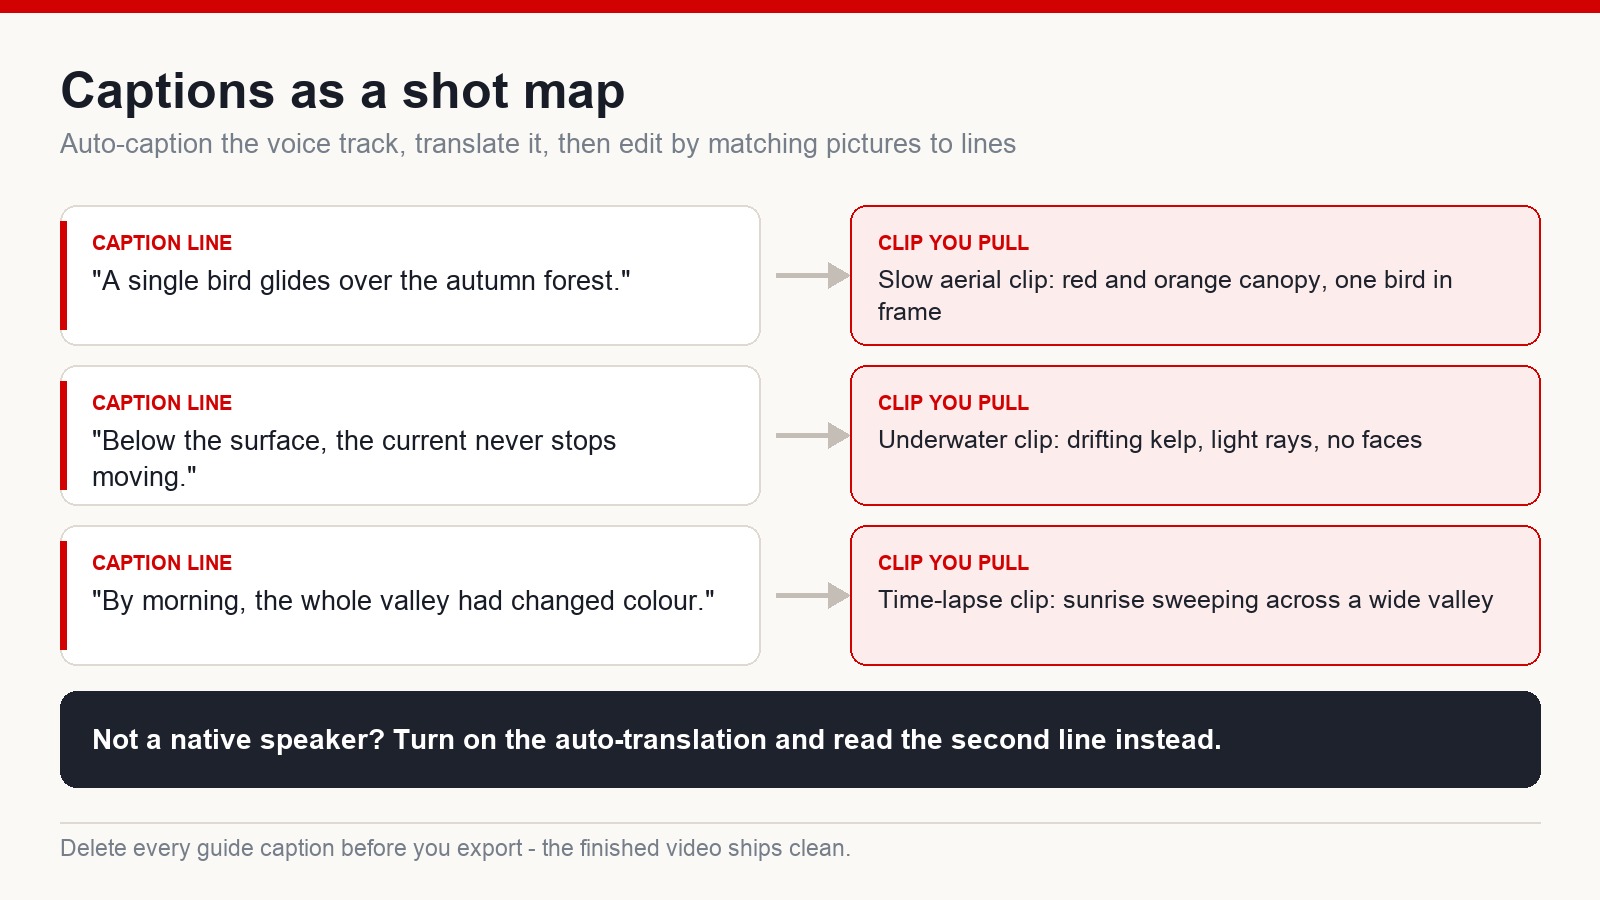
When the cut is locked, delete every one of those guide captions. They were scaffolding. The exported video ships clean, and nobody watching ever knows you used them.
Step 4: Build copyright habits into the edit itself
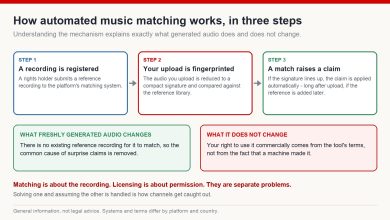
Plenty of beginners assume they can pull clips off YouTube, stack them in a timeline and call it a video. That is the fastest route to a copyright claim, a demonetised upload or a takedown.
To be clear about what follows: these are risk-reduction habits from years of production work, not a guarantee of safety. Platform policies change, licences differ, and every claim is judged on its own facts. Sourcing your footage legally is always the real protection.
Short cuts are a pacing tool, not a copyright shield
Experienced faceless editors rarely leave one clip on screen for long. Cutting footage into short pieces and changing the angle keeps a video watchable — long static shots are where retention graphs go to die. That is the whole of the benefit, and it is worth doing for its own sake.
What it does not do is make someone else’s footage yours. There is no length of clip — five seconds, three seconds, one second — below which using third-party material becomes safe. That idea circulates widely and it is simply false. Copyright claims are judged on what you used and under what permission, not on how long each piece stayed on screen. The only real protection is sourcing footage you are licensed to use.
Stay away from faces
When you are pulling third-party footage, favour landscapes, nature, objects, machinery and process shots over recognisable people. Fewer faces means fewer image-rights problems, and it fits the faceless format anyway.
Mix licensed footage in deliberately
Do not build an entire video out of AI-generated visuals. The videos that hold up best are a blend: real footage, real photographs, properly licensed stock from libraries such as Storyblocks or Envato Elements, and AI imagery used where nothing else exists. The blend is what stops a video from looking synthetic, and it also gives you material that is genuinely yours to use.
Step 5: Sound effects are the retention trick almost nobody uses
A video carried by narration and background music alone feels thin. Layer in sound effects and the same footage suddenly feels like a place rather than a slideshow:
- A bird on screen gets a bird call.
- Trees moving get wind.
- A coastline gets surf.
- A machine gets its own mechanical texture.
Let the sound arrive before the picture
Here is the technique professional editors use constantly: start the sound effect a fraction of a second before the shot it belongs to. The ear registers the change before the eye does, and that tiny gap creates anticipation. It costs you nothing, it takes seconds, and it works on nearly every cut where something new enters the frame.
How long before you get fast?
There is no shortcut, and I would not trust anyone who says otherwise. Beginners routinely spend one to two full days on a single video, and that is normal. Once the workflow above is automatic, an editor can assemble a long-form video in about a working day — but that speed is the product of repetition, not of a better plug-in.
What matters early on is not how fast you edit. It is whether you edit again next week.
Frequently asked questions
Can I run an English-language channel if English is not my first language?
Yes. Between AI narration, machine translation and bilingual captions, the production side no longer depends on fluency. What it does depend on is your ability to judge whether a clip matches a sentence.
Is CapCut enough for a faceless channel?
For most faceless formats, yes. It handles captions, translation, audio keyframes and the effects you actually need. Move to a heavier editor when you hit a specific limitation, not before.
Which AI voice should I use?
ElevenLabs is the common starting point because the delivery sounds natural, but the right answer depends on your niche and your target market. Test a few voices on the same paragraph and listen back on phone speakers, which is how most of your audience will hear it.
Should I make videos entirely from AI visuals?
I would not. A mix of real footage, licensed stock and AI imagery looks better, ages better and gives you cleaner ground to stand on if the source of your material is ever questioned.
The takeaway
Producing videos for an international audience is no longer a language competition. You can draft with AI, narrate with AI, translate automatically, caption in two languages and edit without understanding every word — and the thing that decides whether the video works is still the oldest skill in the business: can you keep someone watching?
So open your editor and cut one video end to end using the five steps above. Results vary, platform rules shift, and no workflow guarantees an audience — but nothing at all happens until there is a finished video on the timeline. If you want the full system I teach for building faceless channels aimed at English-speaking markets, it lives at mmoyoutube.com.